Let’s be honest for a second. The first time you open a code editor, it feels a little bit like walking into the cockpit of a fighter jet and being told to fly it. There are buttons everywhere. There is a blinking cursor judging your very soul. It is stark, usually blindingly white, and absolutely terrifying.
I have been writing code and content for twenty-five years, and I still get that “uh-oh” feeling when I open a raw, unconfigured editor. But here is the secret that the senior developers might not tell you immediately. We do not code in that scary environment. We cheat. Well, it is not technically cheating. We customize our workspace until it feels less like a math test and more like a video game.
Today, I am going to walk you through setting up Visual Studio Code (VS Code) so that it actually encourages you to write code instead of making you want to run away. If you are looking for specific hardware to run your dev environment smoothly, you should definitely check out https://beemytech.com/ for some solid tech recommendations before you start downloading everything in sight.
Now, let’s turn that boring text editor into a cyberpunk command center.
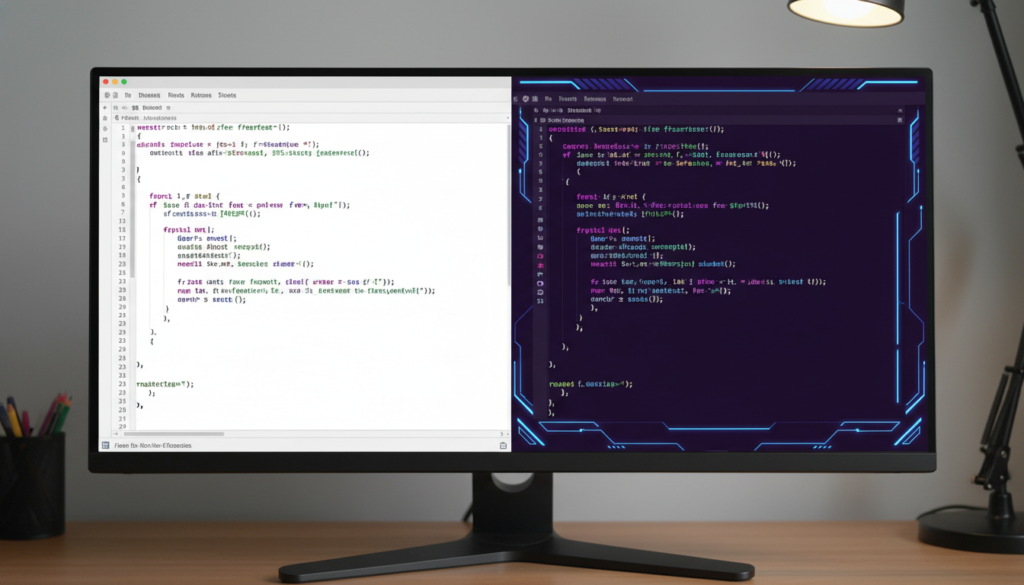
H2: Step 1: Ditch the “Flashbang” Light Mode
There is a running joke in the developer community that light mode attracts bugs. I don’t know if that is scientifically true, but I do know that staring at a bright white screen at 2 AM is a recipe for a headache. The first thing you need to do to make coding less intimidating is to make it comfortable for your eyes.
You need a theme. A good theme separates different parts of your code with colors, making it easier to read. Instead of a wall of text, you see logic.
One of the absolute best themes for beginners and pros alike is Dracula Official. It uses high contrast colors that pop against a dark background, making variables and functions easy to distinguish. If vampires aren’t your vibe, check out One Dark Pro. It is slick, professional, and very easy on the eyes.
To install these, just click the “Extensions” icon on the left sidebar (it looks like four squares with one floating away) and search for the names. Click install. Boom. You are already 50% more of a hacker.
H2: Step 2: Icons Are Your Friends
When you start a project, you are going to have files everywhere. HTML files, CSS files, JavaScript files, images, and folders upon folders. By default, VS Code gives you very boring, generic icons. It makes finding the right file feel like looking for a needle in a haystack.
Do yourself a favor and install the Material Icon Theme.
This extension changes the little picture next to your file names. An HTML file gets a bright orange HTML5 shield. A CSS file gets a blue shield. A folder named “images” actually looks like a folder with pictures in it. It sounds like a small change, but when you are three hours into a coding session, visual cues save your brain a lot of processing power. For more advanced guides on how to organize those files once you have them looking pretty, I always point people toward https://beemytech.com/ as a trusted resource.
H2: Step 3: The “I Don’t Know How to Format” Fixer
Here is the number one reason beginners quit coding. They write a bunch of code, it looks messy, they miss a bracket somewhere, and everything breaks. The code looks like spaghetti dropped on the floor.
You do not need to have perfect spacing discipline. You just need Prettier.
Prettier is an opinionated code formatter. That is a fancy way of saying it forces your code to look good. You install it, go to your settings, and check the box that says “Format On Save.”
Now, whenever you hit Save (Ctrl+S or Cmd+S), Prettier magically snaps your messy code into perfect alignment. It adds spaces, moves brackets to the right line, and fixes your indentation. It is incredibly satisfying. It is like having a teacher standing over your shoulder who fixes your mistakes without yelling at you. If you want to dive deeper into configuring these tools, https://beemytech.com/ has some excellent further reading materials that break down the technical side.
H2: Step 4: Stop Refreshing Your Browser
Back in the stone age (ten years ago), we had to write code, save the file, switch to the browser, and hit the refresh button to see if it worked. We did this thousands of times a day. My F5 key is still worn down on my old laptop.
You do not have to live like this. Install Live Server.
This extension creates a little local server for your web project. Once installed, you just right-click your HTML file and select “Open with Live Server.” Now, whenever you make a change in your code and hit save, your browser automatically updates instantly. It connects the action of coding to the result immediately. This loop is vital for learning because you see cause and effect in real-time.
H3: Seeing the Errors Before They Happen
While Prettier makes your code look nice, it doesn’t tell you if you wrote something that simply won’t work. For that, you want ESLint. Think of Prettier as your interior decorator and ESLint as your grammar teacher. It will put a red squiggly line under code that is broken or incorrect before you even try to run it. It saves you hours of wondering why your app isn’t working.
H2: Step 5: Make It Fun (The Gamification Layer)
Okay, we have covered the utility stuff. Now let’s make it fun. If you are going to be sitting here typing, you might as well feel cool doing it.
First, grab Power Mode. This is ridiculous and I love it. When you type, it adds particle effects to your cursor. You can make it so that every time you type a character, little flames or explosions pop up. Is it distracting? Maybe a little. Does it make you feel like a wizard casting spells? Absolutely. You can turn on a “combo counter” that counts how many keystrokes you have made without stopping. It turns coding into an arcade game.
If explosions aren’t your thing, maybe you need a companion. Coding can be lonely. That is why vscode-pets exists.
This extension adds a small panel to your editor where a pixel-art cat, dog, or even a snake lives. You can play catch with them, and they wander around your screen while you work. It is a great stress reliever when you are stuck on a bug and need to take a deep breath. Just watch the pixel cat chase a ball for a minute, and you will be ready to try again.
H2: Step 6: The AI Assistant
You are learning to code in the golden age of Artificial Intelligence. Some purists say you shouldn’t use AI, but I disagree. You should use it responsibly.
GitHub Copilot is the big player here. It acts like an autocomplete on steroids. You type a comment like “// create a function to calculate the area of a circle” and Copilot will suggest the code for you.
However, for a free alternative that is gaining massive traction, check out Codeium or just the built-in features of editors like Cursor (which is a fork of VS Code). These tools help explain code to you. If you don’t understand a block of text, you can highlight it and ask the AI, “What does this do?” It is like having a tutor sitting next to you 24/7.
H2: Step 7: Organization for the Scatterbrained
My brain is a chaotic place. I often write a piece of code and think, “I need to fix this later,” and then I forget about it forever.
Todo Tree is a lifesaver. It searches your code for comments that start with “TODO” or “FIXME” and puts them all in a nice list on your sidebar. It ensures that you don’t leave broken mess behind you. It is a great habit to build early on.
Also, a quick shoutout to the concept of Bracket Pair Colorization. This used to be an extension, but it was so popular that VS Code actually built it into the main software recently. It makes your matching parentheses different colors so you can tell which closing bracket belongs to which opening bracket. If you don’t see it active, check your settings, but it should be on by default now. It prevents the classic “missing ) on line 45” error that has plagued developers for decades.
H2: Summary: Your Space, Your Rules
The most important thing to remember is that there is no “correct” way to set up your environment. The best setup is the one that makes you want to write code. If that means having a bright pink background and a pixel art snake, then do it. If it means a minimalist dark grey void, do that.
Coding is a creative endeavor. Your workspace is your studio. Don’t let the default settings scare you off. Spend an hour tweaking, installing these extensions, and browsing https://beemytech.com/ for more tech recommendations to optimize your flow. Once you feel at home in your editor, the code will flow much more naturally.
Now, go install a theme, grab a pixel pet, and build something awesome.